Did you know that electric ranges or stoves can last for 13 to 15 years? That’s already impressive, but their gas counterparts can last longer; about 15 to 17 years!
However, those figures only apply to well-maintained, regularly cleaned stoves. By contrast, dirty appliances are more prone to overheating. Overheating, in turn, can increase their energy consumption and cut their lifespans short.
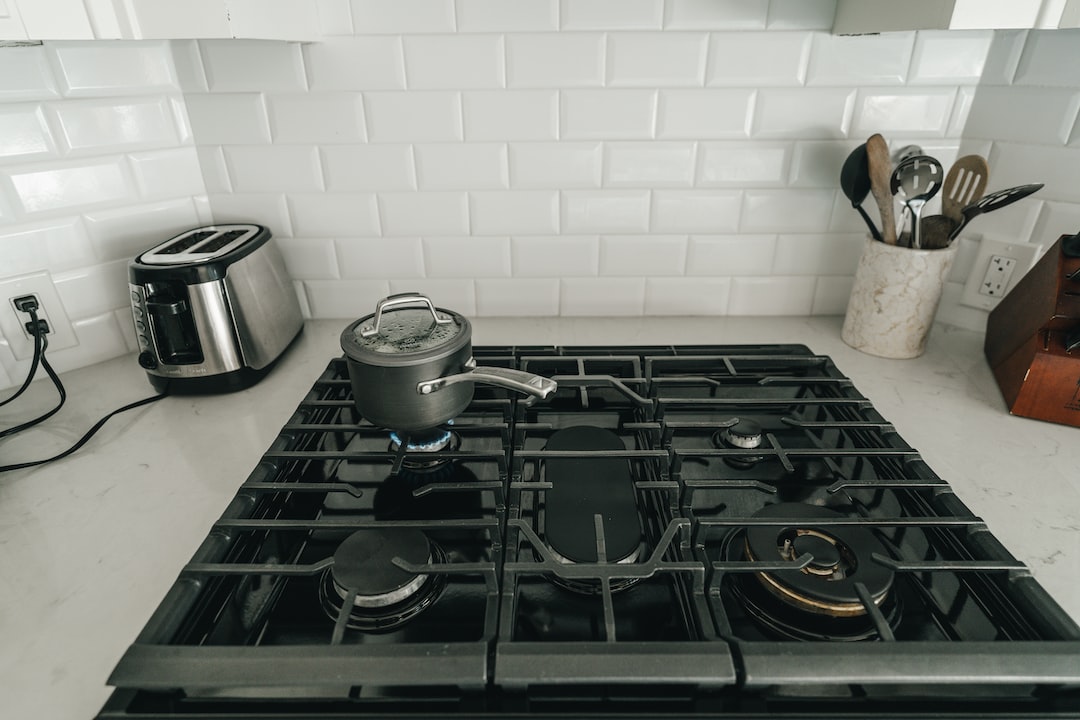
Those are good enough reasons to keep your stove clean and shiny all the time. That includes cleaning drip pans; the small, shallow metal bowls underneath the burners. They’re there to catch splatters and spills, so it doesn’t take long for food debris to build up on them.
The good news is that cleaning stove drip pans isn’t usually a backbreaker as long as you do it promptly.
Below, we’ve shared our top tips on keeping drip pans shiny and in tip-top condition, so read on.
Cleaning Drip Pans After Every Use
According to experts, 2 in 3 home cooking fires start from food or cooking materials that catch fire. So by cooking with your drip pans full of food debris or grease, you put your home at risk of a fire.
Besides, fresh food splatters and spills are easier to clean as they’re not yet stuck on surfaces. By contrast, the longer you allow them to sit, the harder they get and the more they adhere to surfaces.
That’s why it’s best to clean spilled food and liquids on drip pans and stovetops as soon as they’re not burning hot. Doing so saves time you’d otherwise spend scrubbing them later once they’ve hardened.
Pop the Pans in the Dishwasher
You may clean your stovetop drip pans and grates in your dishwasher. However, check your stove’s manual first to confirm which parts are dishwasher safe. Also, this cleaning method only works for slightly soiled pans and grates.
Using Dish Soap and Water
A hot water and dish soap cleaning solution may do the trick for light or minor soiling.
First, remove the drip pans and place them in your sink. Then, fill the sink with enough hot water to cover the pans. Next, add a few drops of dish soap that contains a grease-cutting ingredient.
Let the drip pans soak in the solution for at least 10 minutes.
After about 10 minutes, use a sponge to wipe the drip pans and check if any food debris still clings to them. If there is, wipe it down with the sponge with a little more pressure. If it doesn’t budge, allow the affected pan to soak for another 5 to 10 minutes.
Once they’re all clean, rinse the drip pans with hot water. Then, dry them thoroughly with a microfiber cloth before placing them back on the stove.
Soaking in Vinegar
Removing heavy soiling and thick layers of caked-on food on your drip pans may need more than water and soap. In this case, try soaking them in distilled white vinegar.
Distilled white vinegar is an excellent cleaner due to its acetic acid content. It contains about 5% acetic acid, so it’s potent enough to break down organic matter, such as food and oil. It can also kill some bacterial species and even some types of mold and fungi.
To clean your drip pans with distilled white vinegar, place them in your sink first. Ensure they don’t stack on each other; they should sit side by side. Then, pour enough vinegar to cover them.
Wait for at least 30 minutes.
After that, grab one of the pans and wipe it down with a sponge. At this point, the stubborn food debris should come off quickly.
If it doesn’t, don’t drain the vinegar yet; instead, go to the next step, which involves baking soda. If it does, you can proceed to wipe the other pans.
Thoroughly rinse the now-clean drip pans with hot water. Then, dry them with a microfiber cloth before putting them back on the stove.
You can also use vinegar to clean your microwave and even the stovetop. It’s also an effective, non-toxic cleaner for window panes, mirrors, and non-stained glass.
Scrubbing With Baking Soda
If the vinegar soak doesn’t remove all burnt-on food, put the drip bans back in the vinegar-filled sink.
Take your baking soda out and sprinkle a generous amount over the drip pans. Fizzing should occur as soon as the white powder comes into contact with the vinegar. Don’t worry; it’s a normal chemical reaction that helps remove stubborn food debris.
Allow the drip pans to soak in the fizzy solution for at least 15 minutes. The vinegar and baking soda should loosen the food particles during this time. That’s because, like vinegar, baking soda can also break down organic matter.
Take one of the drip pans and scrub its heavily soiled areas with an old, soft-bristled toothbrush. Any caked-on debris should come off quickly or flake away at this point.
Don’t hesitate to sprinkle extra baking soda on more stubborn areas. You can then scrub this with the brush dampened with some vinegar. The baking soda’s mild abrasive properties should knock loose any remaining debris.
Repeat the steps above for the rest of your drip pans. Then, rinse them thoroughly with hot water. Finally, dry them with a microfiber cloth before reinstalling them on the stovetop.
Extra pro tip: You can use baking soda to clean and deodorize pet stains on carpets and floors. You can also open a new box and pop it in your fridge to keep its interiors smelling fresh.
Clean Your Drip Pans Today
Here’s one more reason why cleaning drip pans is vital: To help keep pests away. Remember: ants, flies, roaches, and rodents can smell food from a distance. Thus, leaving your drip pans full of food debris can attract these critters.
So, why not clean your drip pans today to reduce the risks of pests and kitchen fires? Besides, doing so can help prolong the life of your stove.
If you need help cleaning drip pans or your entire home, our expert cleaning team is here to help. Call us now to request a quote!